Time Lapse House Build

I had a reader ask recently how I was creating the time lapse videos we’ve been posting, so I thought I’d share.

I have two primary methods.  The main one that is stationary throughout the build is a Game/Trail Camera.  These cameras are weatherproof and mainly used to capturing movement of deer or other game, but most of them have a time lapse feature as well.  Mine is set to take a picture every 5 minutes.

I’ve got it posted in a tree.

See that green thing strapped to the tree? That’s my main camera.
IMG_3759
You can see the camera at the top right. It’s a good way from the house, but the angle is too close.

Since these cameras are not terribly expensive (about 100 dollars, mine on Amazon), I’m just taking the risk that somebody might steal it, but it’s not super noticeable, and I’ve placed it so it can only be reached with a ladder.  I feel like at least that’ll stop some kid who’s walking by and notices.  It’ll take at least getting out a ladder.

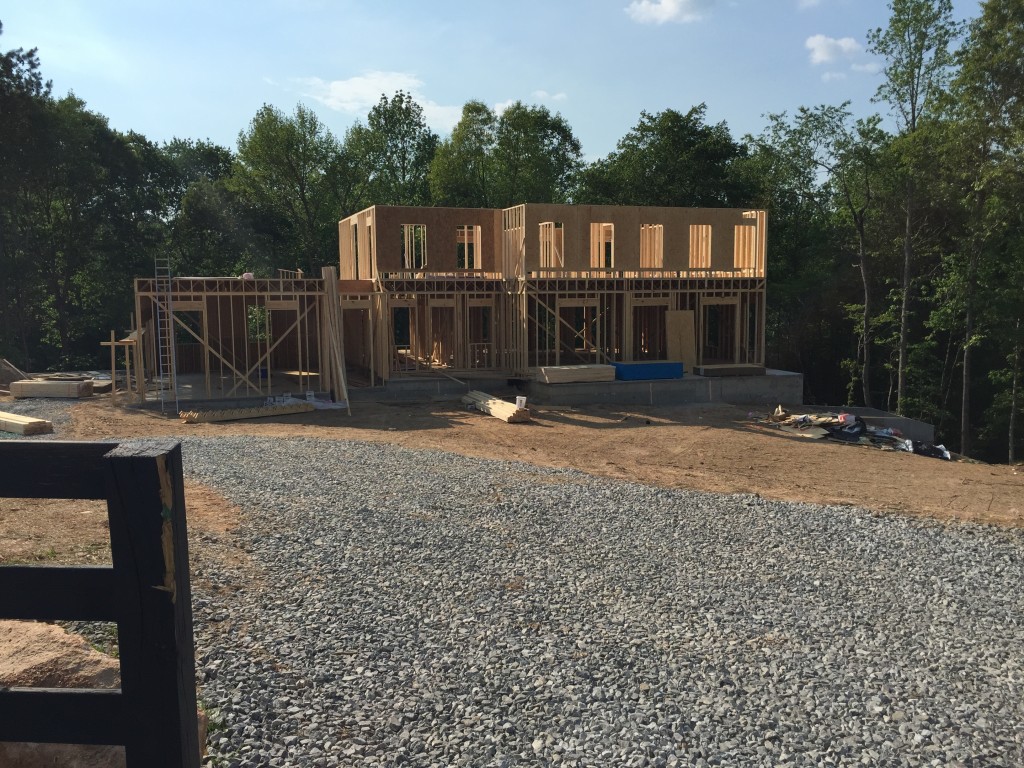
It’s obvious that my angle in the time lapse is really, really bad, but it’s really my only choice.  Not only do I not want to move it this far along, but it’s also really the only place I can put it out of reach.  I don’t have any more trees in the front of the house, so I would have to put it right within reach on the fence to get a better angle, and I think that’s too risky.

The batteries last about 6 weeks with my 5-minute, 12-hours-a-day, 5 megapixel shots. I’ve got a 16GB memory card in there, and I usually empty it out about every two weeks, although, I’m only emptying about 3GB at a time, so it could go on much longer.

I take the photos a load them into my GoPro software which seems to have a pretty good system for doing time lapse.

For the “shorter” time lapse shots, like when we were pouring the concrete, I’ll mount my GoPro to whatever I can find. In this particular example, I had it mounted on a tree. Since the GoPro is a little bit more of an expensive item, I like to keep an eye on it when it’s up, and I haven’t maxed out the battery yet, but I think it only lasts 4 hours or so.  I actually take continuous video and just speed it up in the software instead of a true time-lapse.  The 32GB card holds a bunch of video.  I’m not sure, but I think the battery would die before the card would.

One tip, I’ve go the original GoPro Hero. Still does great HD, and works well, but doesn’t cost but about 100 dollars.

I didn’t put these two 100 dollar items in my Extra Costs post, but maybe I should have…

Below are the best ones we’ve gotten so far.
 

If You Want to Feel Insecure About What You Accomplish in a Week

It’s Friday. We had only concrete on the ground on Monday. Check out the time lapse of last week and this to see the progress.  I’m going to be releasing a blog shortly with a description of how I’m getting the time lapse, but as a preview, I’ll mention I’m not very happy with my angle, but it’s really my only option.


They’ll probably work tomorrow.  At the beginning of the week they were expecting to do the roof trusses on Monday, and it looks to me like they’re on schedule.

For reference, we’re 8 weeks from ground-breaking and lost almost 4 full weeks to rain.

3 floors almost done after 5 days of framing.

Counting the basement square footage, these guys will have framed almost 7,000 square feet in a matter of about two weeks.  Simply amazing.

When They Say Framing Feels Fast

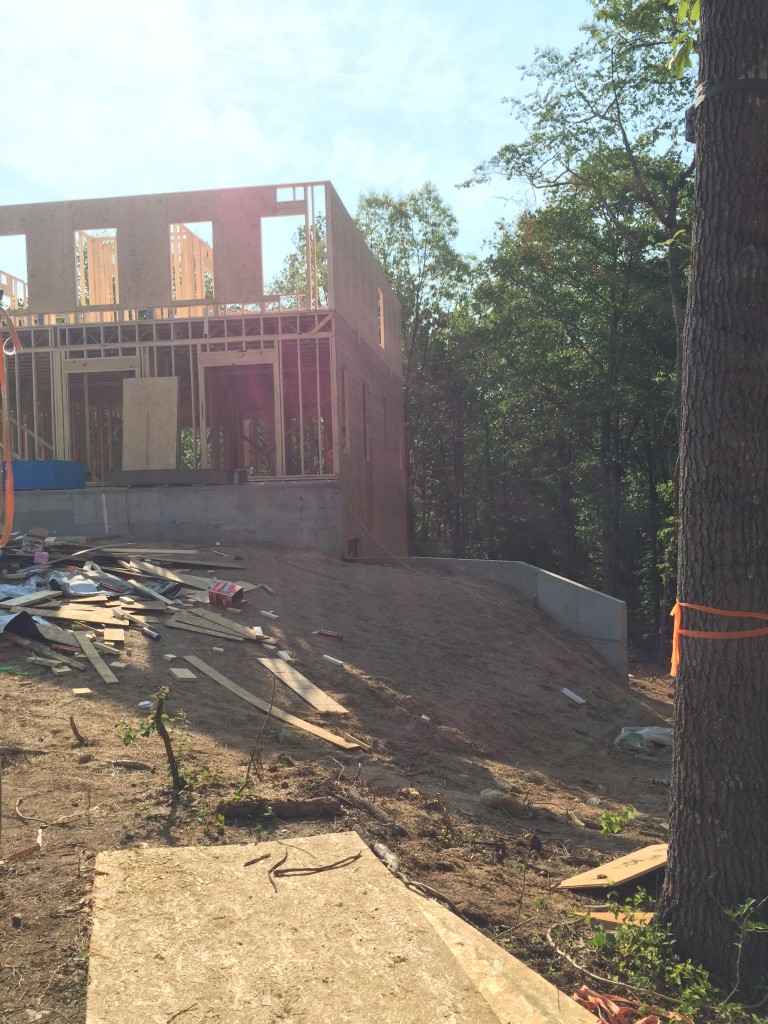
When they say framing seems to go really fast, I didn’t expect this.   They started framing this morning, on about a 2k footprint, and this is where they ended up at the end of the day.  My GC says that the framing will take about three weeks, but at this pace, I don’t see how that’s possible.


Slab Is In!

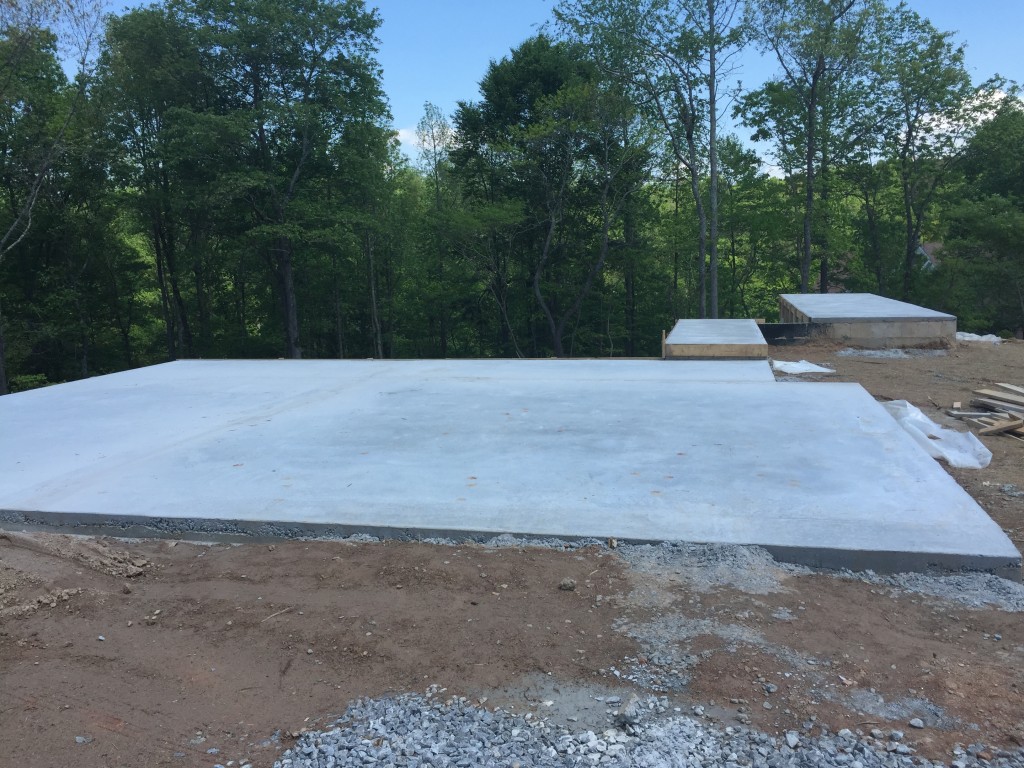
It’s a concrete land out there now–a basement slab, garage, and two porches. All poured and ready for framing starting Monday.  Check out the time lapse below of the slab pour.

I had someone on GardenWeb/Houzz ask me how I was doing the time lapse.  I’ll be doing a blog on that soon.  For only about 100 dollars and not too much effort, you can get a pretty great time lapse of your whole build.


From the garage to the front porches.

The First 6 Weeks

Check out my new time lapse.  It’s the first 6 weeks in one minute.  You’ll see that we’ve had a lot of rain!

The Front Yard

One of the best surprises for me so far has been our front yard.  This week, the rains let up long enough to prep for the basement and garage slab pour (hopefully happening Wednesday, but rain in the forecast).  Over 80 trucks of dirt came into our yard over two days, and it turned it from a ugly foundation jutting out of a hill, to a nicely sloped front yard. Our front yard is bigger than I expected, and it’s quickly turning into one of my favorite features. 


From the front looking to the to the house.
    
Before this week

I really like how positive the change is.  The yard still needs a little tweaking, but it’s almost there.  I’m really happy.

In other news, we went this week to a great lighting place near Atlanta, and picked out the rest of what we need. We’re not sure of the pricing yet, but it’s a local place who should be taking a big discount based on buying everything there.  This place has a bunch of unique stuff, so it’s nice to keep away from the lighting “packages” at various places.  Lighting is important to us, so we’re really excited to be getting something special.


Pre-Buying Lighting

We’ve been deal-hunting and growing our “pre-bought” finishes for a while now. Even though we have allowances for all this and the majority of these purchases will come from those, we’ve found some stuff we like enough, usually on sale, and jumped on it.  You can see in the out of pocket expenses tab, we’ve bought almost all the tile at great deals.  Some we bought before we were even under contract, because the $1.50 for the great porcelain tile was incredible.

Lighting has been our main focus though, as we really want to have great lighting. We’re big chandelier people, and we’ll end up having several.  We’ve already bought chandeliers for 4 rooms.

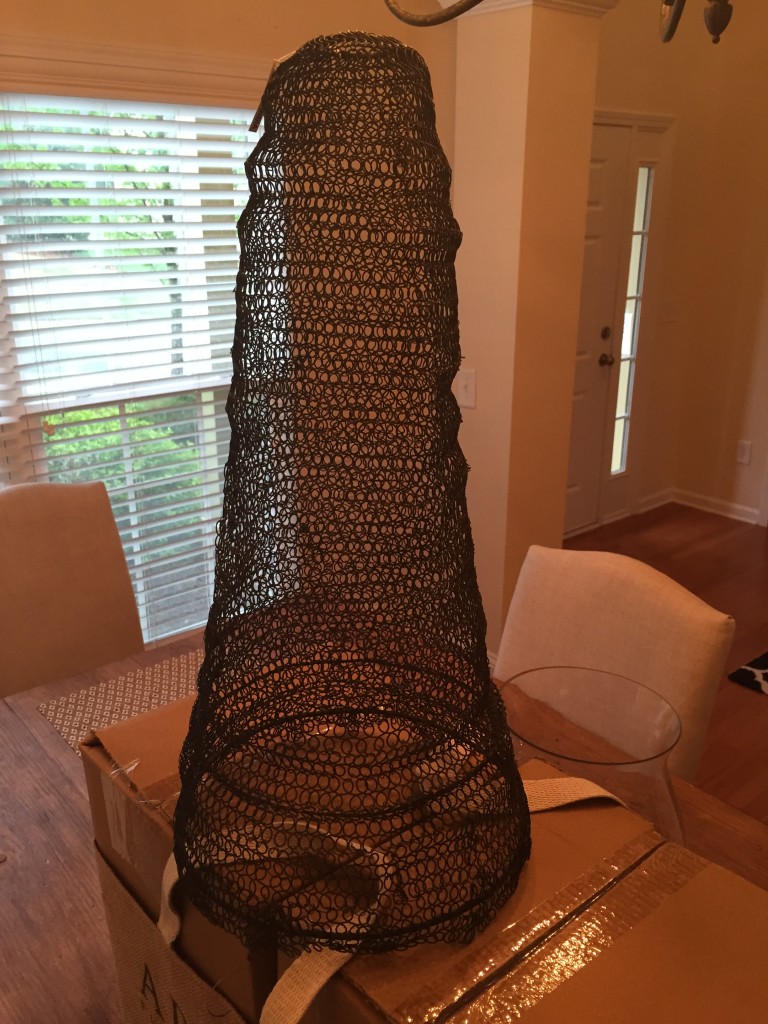
1) Breakast:  We found these Zinc shades. We’re going to hang them in a group of three over the breakfast table.

Zinc shades will be connected to pendant fixtures in a set of three for the breakfast area.

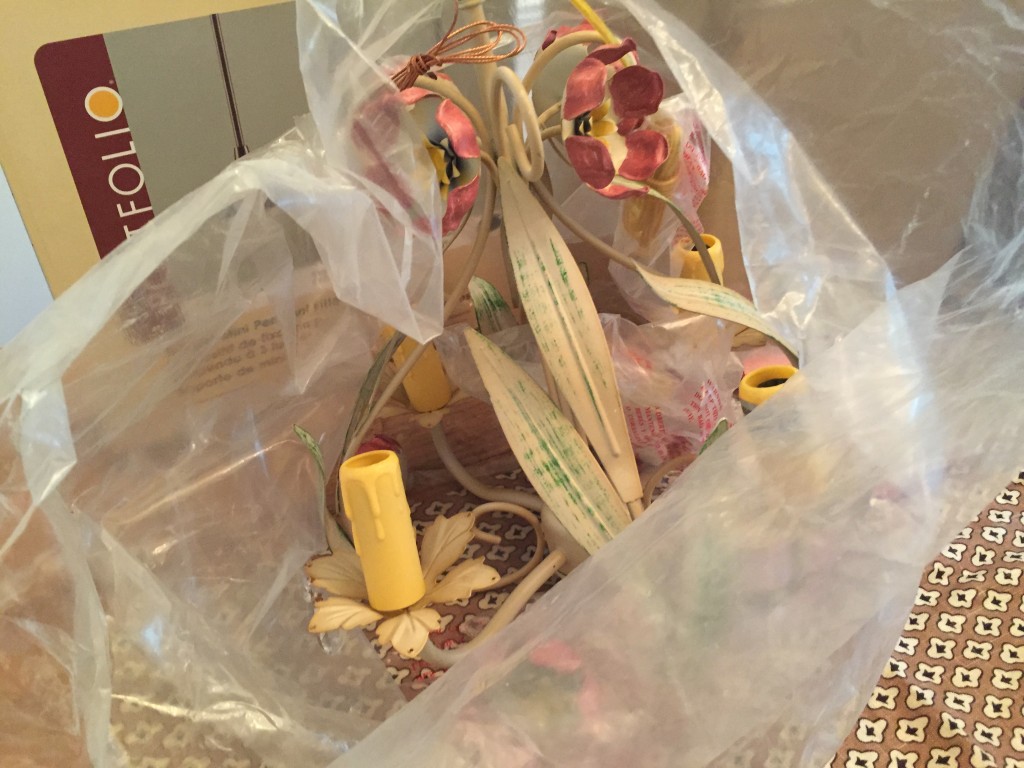
2) Chandelier for the girls’ room.  We found this hand painted chandelier at a local lighting specialty shop.  It was a great deal.

Really cool flower chandelier, hand painted, for the girls' room.
Really cool flower chandelier, hand painted, for the girls’ room.

3) Half bath Chandelier–crystal and vine-looking.

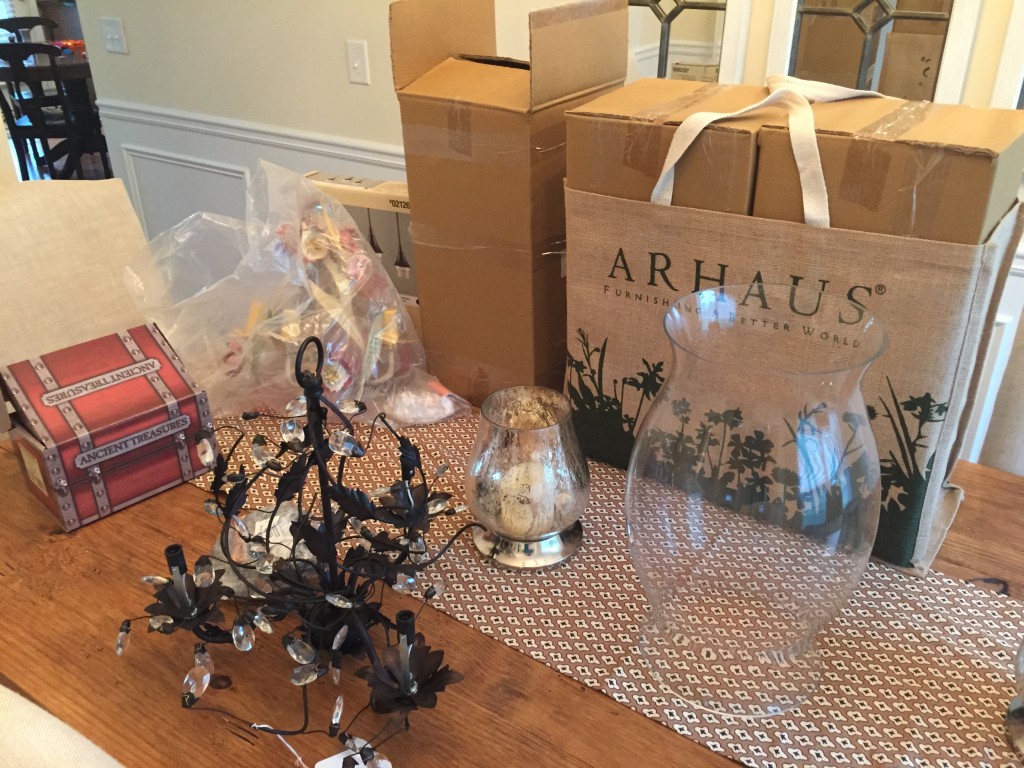
A great crystal chandelier that will probably be in the half bath downstairs.  You can see our table of stuff is starting to overtake the dining table.
A great crystal chandelier that will probably be in the half bath downstairs. You can see our table of stuff is starting to overtake the dining table.

I’m sure they’ll be more, and I’ll keep adding on!

Still Raining, But Let’s Start Lesson’s Learned.

The rain is still coming down in North Georgia, and because of it, we’re now 2 weeks late in pouring the slab.  Nothing we can do about that but wait.

Since we have a break in the progress updates.  I wanted to give a few lessons learned, even though it’s the early stages.

1) If you’re having to have trees cleared, mark the ones you want to take down.

After several back and forths with the builder, I still didn't clearly communicate these were supposed to go.
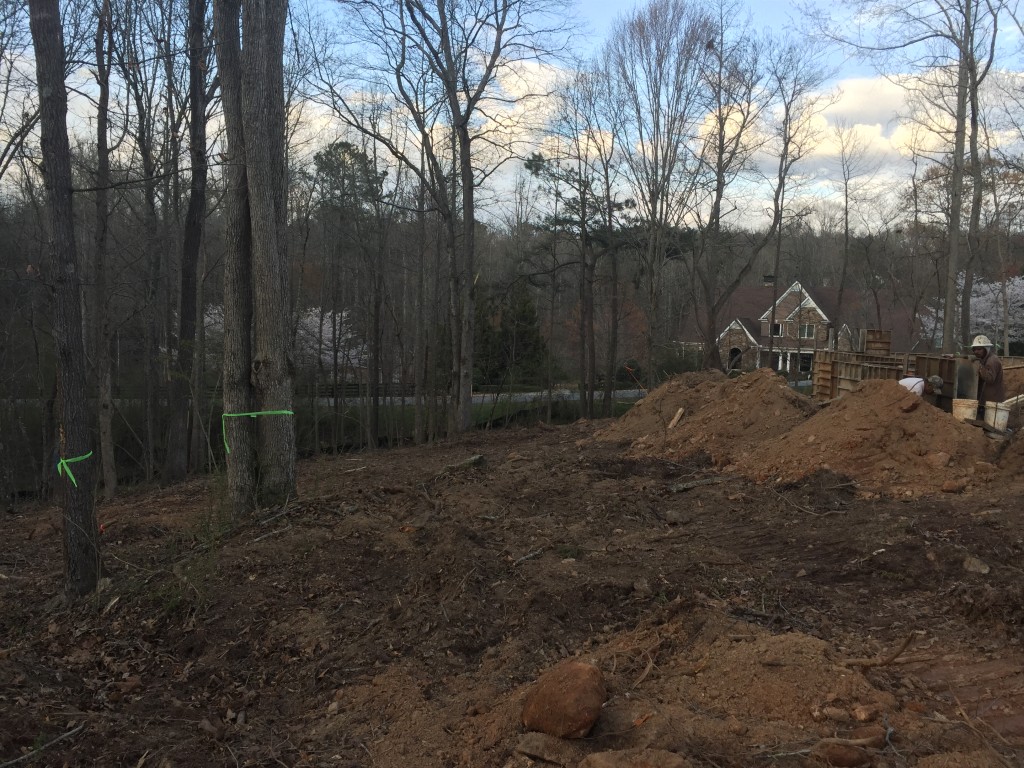
After several back and forths with the builder, I still didn’t clearly communicate these were supposed to go.

Most people are more concerned with saving certain trees, but we generally wanted to clear it out as much as possible.  Before these were marked, I asked the builder to clear out an area around this, but didn’t make clear these too should go.  My contract pretty much has 20ft around the house as standard, and these are close, but I’m paying my builder for additional ones to go down (it’s a lot cheaper now than later).  After a couple of rounds of miscommunication, I finally took the builder’s advice and just marked the ones that needed to go.  If I had it to do over again, I’d tape off the whole area I wanted cleared.  If there was a tree I wanted to save in the area, I’d mark that with another color.

2) Be ready to adjust.  Our basement door was in a bad place. The slope of the lot slopes right to left, and our basement door was pretty much on the far left of the lot, so the builder was going to have to build up the land in that area to put the door were we planned.  I decided the natural flow of the land would be better if we moved the door a couple of feet, and it works with the overall basement plan, so we’re happy.  It might even end up saving a few dollars as we’re eliminate a triple window and replacing it with doors.


Rain Rain Rain

Not much blog activity last week or this week because we haven’t gotten very far.  It’s been over a week since my last status update, and all that’s been accomplished is a little waterproofing and flattening out the basement floor.  We thought we’d have the slab poured at the end of last week, but it’s still raining here on Wednesday, and is forecasted to continuing raining until Monday.  Hopefully, we’ll get a clearing sky earlier and be pouring the slab late this week/early next.  Then it’s on to framing. I didn’t think I’d be so eager for dry-in.

Not much progress over the last 10 days. The rain has really slowed us down.

New Page for Out Of Pocket Costs

In my build, lots of checks have been written and we’ve barely gotten started.  I just created a page to share with you the out of pocket costs.  I wanted to give a view of the outflow of money that doesn’t come from the banks, but directly from my pocket.  For comparison, we’re building about a 4,500 sq ft house on about 3 acres of land.

http://www.joelpro.com/house/out-of-pocket-costs